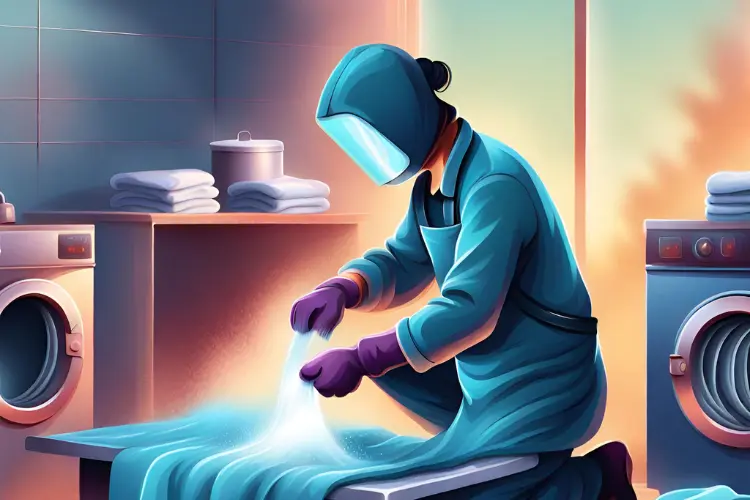
Welding involves exposure to high heat, sparks, and molten metal, which can cause damage to clothing and pose a risk to the welder if their work clothes are not properly cared for. A well-maintained set of welding clothes provides enhanced protection.
An overview of the maintenance process for welder clothes involves proper cleaning, storage, and handling to ensure the integrity and durability of the fabric.
Besides cleaning, welders should follow specific dos and don'ts while caring for their clothes.
Do | Don't |
|---|---|
Pre-treat stains: Apply specific stain removers for oil, grease, and metal before washing. | Use harsh chemicals or bleach: This can damage the fabric and weaken its flame-retardant properties. |
Choose the right detergent: Use a mild detergent specifically designed for flame-resistant fabrics. | Use regular detergent: This may not effectively remove welding contaminants and can leave residue on the fabric. |
Wash clothes regularly: Depending on the frequency of welding, wash clothes after each use or every few uses. | Wash clothes too often: Excessive washing can wear down the fabric and shorten its lifespan. |
Air dry clothes: This is the safest and gentlest way to dry welder clothes. | Tumble dry on high heat: This can damage the fabric and shrink the clothes. |
Inspect clothes regularly: Check for tears, holes, burns, and excessive wear before each use. | Ignore damage: This can lead to further deterioration and compromise safety. |
Store clothes properly: Hang clothes in a cool, dry place away from sunlight and chemicals. | Store clothes in a damp or humid environment: This can promote mildew growth and damage the fabric |

Pre-Cleaning Task
Removing Splatter
Before washing your welder's clothes, remove any weld spatter or slag during work. Weld spatters are small particles of molten metal that have hardened on the fabric. To remove these particles, gently tap the clothing while hanging or lay it flat and use a soft-bristle brush to brush away the spatter gently.
Brushing Off Dust And Debris
After removing the spatter, it's necessary to brush off any dust and debris on the clothes. Using a soft-bristle brush or a lint roller, go over the entire surface of the clothing, paying special attention to pockets and stitchings where grime may accumulate. Try using a vacuum cleaner with a brush attachment for more challenging debris, such as metal shavings.
Pre-treating Stains
Once the splatter and debris have been removed, pre-treat any stains before washing. Common stains on welder's clothes include grease, oil, and soot. Here are some steps to follow:
- Mix a solution of equal parts water and white vinegar or a specialized laundry detergent for welders.
- Apply the solution to the stained areas using a soft brush or a clean cloth.
- Let the solution sit for 2-3 hours (or overnight for heavily soiled clothes).
Following these pre-cleaning steps, You can keep your welding clothes in good shape.

Cleaning Time
Washing Options
There are several methods to clean welder clothes at home.
One option is using a homemade cleaning solution consisting of white distilled vinegar, laundry detergent, and warm water.
The mix should be:
- ¾ cups white distilled vinegar
- ½ cup laundry detergent
- 1-gallon warm water
Soak the clothes for about 30 minutes and then wash them in a washing machine.
Another option is using Persil ProClean Power-Liquid Laundry Detergent, which removes stubborn stains while deep cleaning the fabric.
Drying Methods
After washing, it's essential to dry the clothes properly. Air drying is recommended for most welding clothes and can be done by hanging the clothes outside or on a drying rack.
Avoid direct sunlight, as it can cause colors to fade.
Special Considerations for Leather and Coated Fabrics
Following specific guidelines is necessary when cleaning leather or coated fabrics used in welding clothes.
- Avoid using harsh chemicals or bleach, as they can damage these materials.
- Instead, use a gentle, non-ionic detergent and lukewarm water.
- Additionally, be cautious when washing fiberglass and felt materials. Do not use water hotter than 100°F (40°C) or over-soak these materials.
- Over soaking can ruin the outer protective layer, affecting the clothes' functionality and durability.
Inspection and Minor Repairs
Identifying Damage
Regularly inspecting your welder's clothes is essential to detect any signs of wear or damage that might compromise their protective capabilities. Here are some common issues to look for:
- Frayed seams
- Holes or tears
- Excessive wear in high-stress areas
- Fading or discoloration due to heat exposure
Remember to check the clothes' exterior and interior, as damage may not always be visible.
Minor Repairs
Once you've identified any damages, consider whether they can be fixed through minor repairs.
Here are some examples:
- Small Holes or Tears: Use heat-resistant thread to carefully sew small holes or tears shut, not creating further damage.
- Loose or Frayed Seams: If a seam has come undone, use a sewing machine and the same heat-resistant thread to secure it.
- Worn Fastenings: Velcro or snap buttons can wear out over time. Replace these elements so that your garments maintain a secure fit.
It's important to use heat-resistant materials to ensure your repairs can withstand the high temperatures associated with welding.
Estimating Repair Feasibility
Sometimes, damage to a welder's clothes is too severe to justify repairing. In these cases, it's best to replace the clothes for safety and cost-effectiveness.
Consider the following factors when evaluating whether a repair is feasible:
- Extent of the Damage: If more than 30% of the garment's surface area is affected, replacing it may be more cost-effective.
- Compromised Safety Features: Examine the area of damage to determine whether it impacts critical safety features, such as flame retardancy or heat insulation. If so, replacement is advisable.
- Age of Clothes: Older clothes may have reached their end of life and may no longer provide the optimal level of protection. In this case, a new garment is a safer choice.
Ultimately, the decision to repair or replace the welder's clothes will depend on factors like safety, cost, and the severity of the damage. Always prioritize your safety when making this determination.
Extending the Life of Welder Clothes
By following a few simple steps, you can extend the life of your welder clothes and get the most out of your investment.
Proper storage: It's important to always hang your clothes in a cool, dry place away from sunlight and chemicals. This helps prevent fading and weakening of the fabric due to exposure to harmful elements.
Regular inspection: Check for any signs of damage or wear, such as frayed seams, holes, or material thinning. You can repair or replace the clothing by identifying these issues early.
Cleaning and maintenance schedule: Creating a cleaning and maintenance schedule is another vital step in extending the life of your welder clothes.
Here is a cleaning and maintenance schedule for extending the life of welder clothes in table format:
Clothing Type | Soiling Level | Cleaning Frequency | Cleaning Method |
|---|---|---|---|
Leather | Light dirt/grime | After each use | Wipe down with soft cloth or brush |
Cotton/synthetic | Light stains | Weekly | Launder with detergent |
Leather | Moderate dirt | Weekly | Wipe down with damp cloth |
Cotton/synthetic | Moderate stains | Bi-weekly | Launder with detergent and oxygen bleach |
All materials | Heavy coal dust/oil stains | As needed | Soak in white vinegar and detergent solution before washing (source) |
Flame resistant fabrics | Light-moderate soiling | Monthly |
Purchase quality cloth: Invest in quality welding clothes made from flame-resistant materials like cotton or denim and with sturdy stitching to ensure safety, durability, and comfort during welding work.
Proper care and maintenance are important to the longer life of your welder clothes.
DIY Cleaning Techniques at Home
Remove tough stains Stains by toothbrush :
- Identify any stubborn stains on the clothes, like grease, oil, or metal dust.
- Mix equal parts water and white vinegar in a small container with a few drops of dish soap.
- Apply this solution to the stained areas using a toothbrush.
- Let the stained areas soak in the solution for 2-3 hours or overnight if the stains are heavy.
- This will help break down the stains before washing.
Leave a Reply