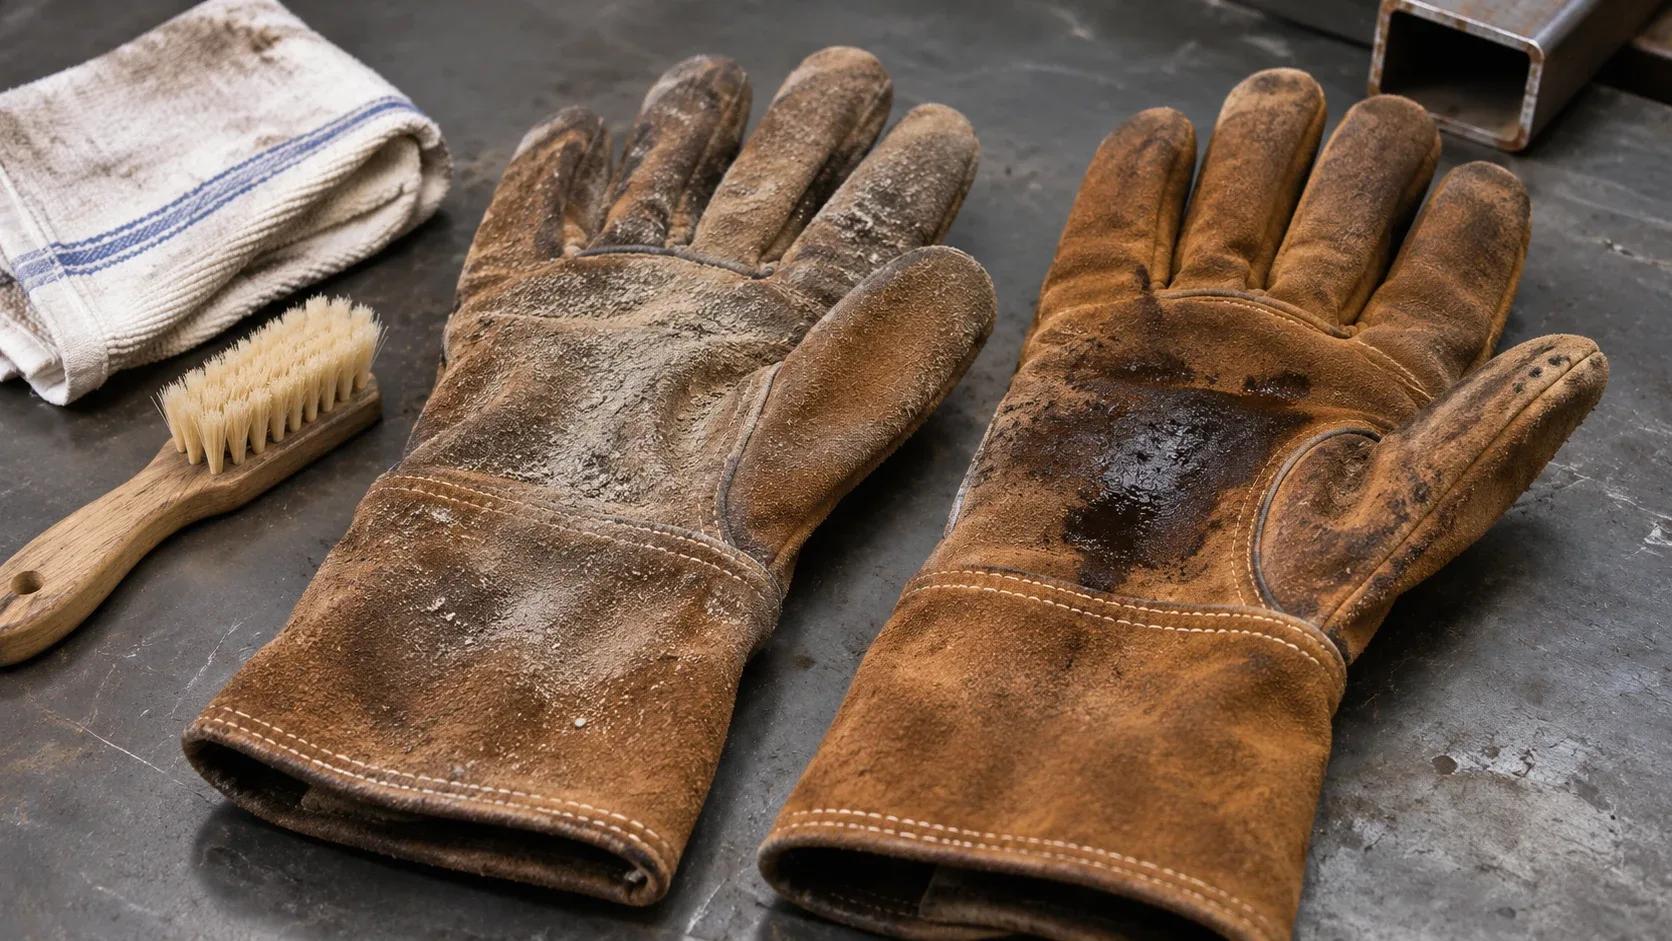
Imagine finishing a weld, setting down your torch, and noticing a dark patch across the palm of your glove.
At first, it looks like the usual workshop grime. Then you remember moving that greasy steel bracket just before lunch. Now the glove feels slick, and the stain is darker than it was an hour ago.
The sink is right there. So is a bottle of dish soap. There's an old toothbrush in a drawer and maybe a tub of leather conditioner on the shelf.
Surely one of those will fix it?
Maybe, if what you have is ordinary surface dirt. If oil has soaked into the leather, the question changes from "How do I clean it?" to "Can I still trust it around sparks and an electric arc?"
That distinction matters more than a perfectly clean-looking glove.
The Greasy Palm That Changes Everything
There are three very different things that can make a welding glove look dirty: dust resting on the surface, moisture or sweat inside the glove, and a contaminant that has soaked into the leather.
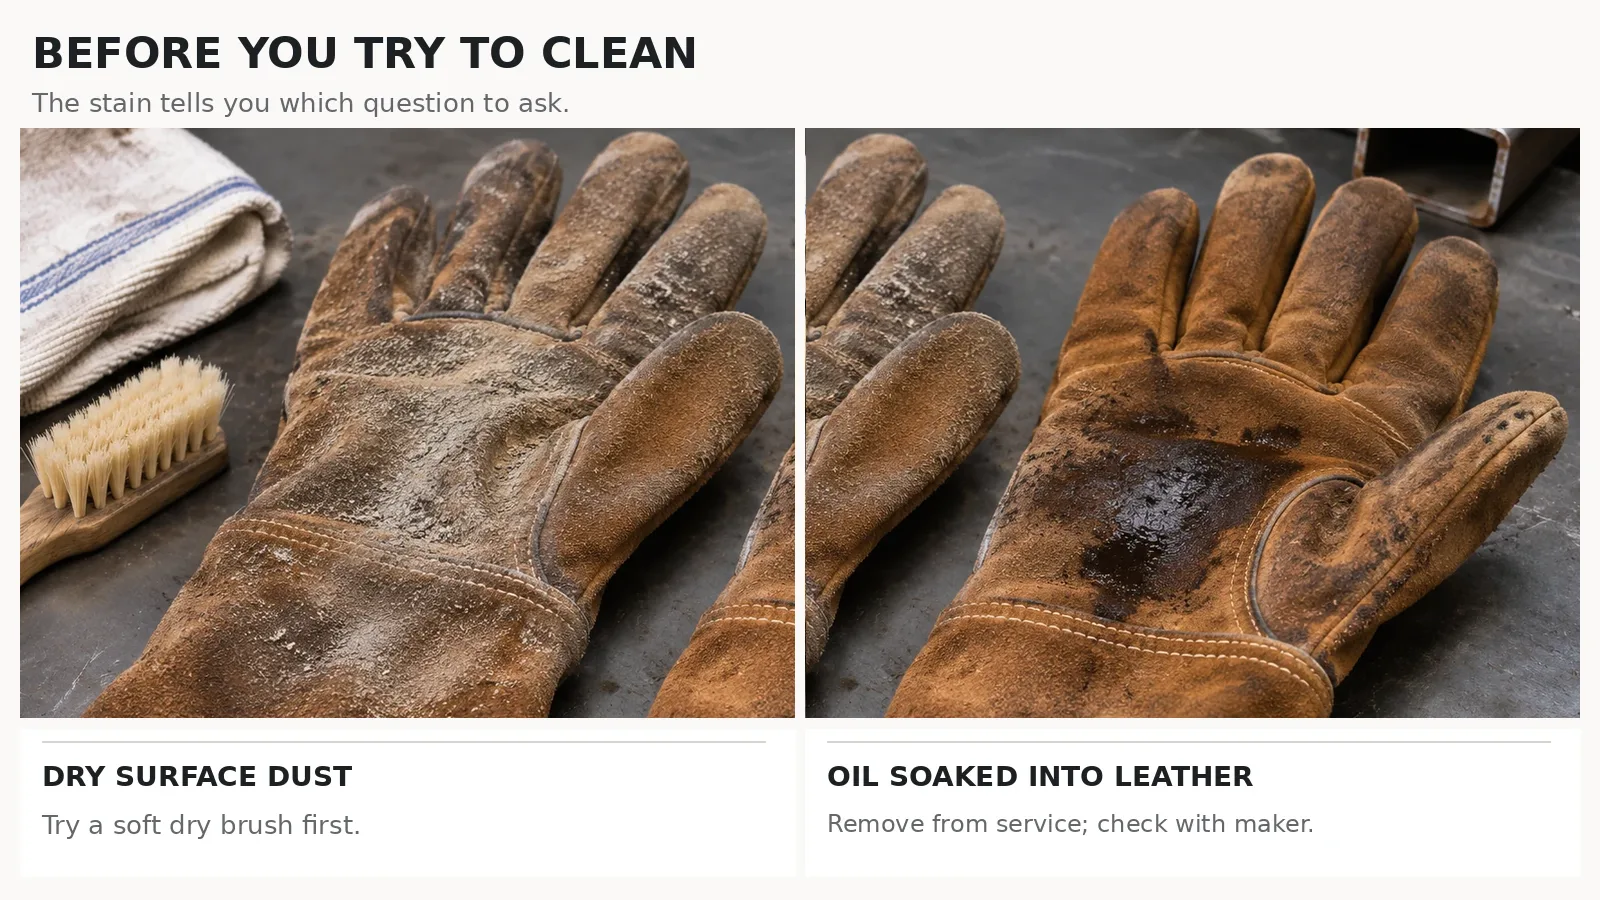
Dust is usually the easy one. With the glove cool and off your hand, a gentle dry brushing may remove loose dirt without adding anything to the material. A smear that comes off on a dry cloth is different from grease that has penetrated the palm and lining.
Oil matters because welding involves ignition sources. OSHA's shipyard hot-work guidance says leather gloves "free of flammable or combustible materials" must be used while welding, cutting or burning, and that protective clothing should be free of oil, grease or solvents. ANSI Z49.1:2021 (explanatory note E4.3.1) adds that clothing should be kept clean "as oil and grease can reduce its protective qualities." Neither document supplies a household recipe for rescuing oil-soaked welding gloves.
This means a lighter-looking stain is not proof that the contamination has been removed. If the leather has absorbed oil or fuel, set the gloves aside and follow the manufacturer's or your workplace's safety procedure. If effective decontamination cannot be established, replace them.
What You Already Have at Home, and What Should Stay on the Shelf
You do not need a collection of expensive bottles to remove loose surface dust. But a common household product is not automatically compatible with flame-resistant protective gloves.
What You Already Have at Home, and What Should Stay on the Shelf
| Item you probably have | When it may help | When to stop |
|---|---|---|
| Soft, clean toothbrush or soft-bristle brush | Gently remove loose, dry grit from cool gloves | Stop if brushing pulls at stitching, tears the surface, or rubs embedded spatter into the leather |
| Clean, dry cotton or microfiber cloth | Lift light surface dust and blot fresh surface liquid without rubbing it deeper | A dark, soaked-through oily patch is not a routine wipe-down job |
| Slightly damp, well-wrung cloth | Only where the particular material and maker permit spot cleaning | Do not use on a glove whose instructions prohibit water, including certain split-leather designs |
| Dry towel, hanger, or ventilated shelf | Support slow air-drying after permitted cleaning or sweat exposure | Never return to welding with damp gloves |
| Mild soap or saddle soap | Only if the specific product's care guidance allows it | Do not assume dish soap, degreaser, saddle soap or conditioner is safe for welding gloves |
| Cooking oil, petroleum jelly, WD-40, solvents, bleach | Not recommended as a do-it-yourself glove treatment | Do not try to soften or degrease welding gloves with these products |
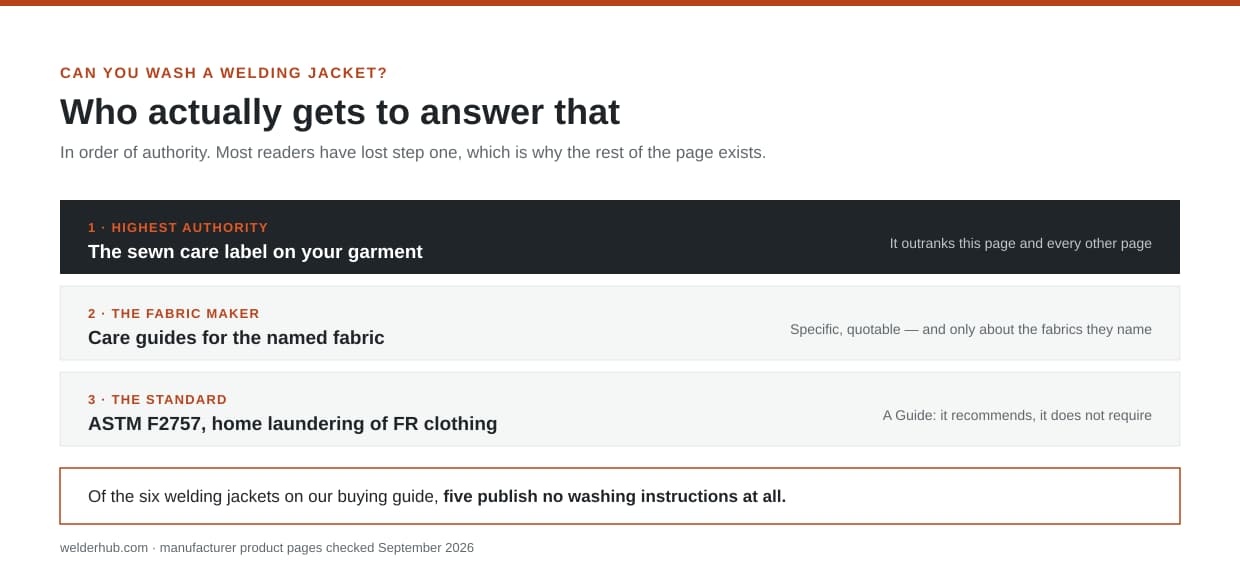
The difference between available and appropriate matters. Mechanix Wear's care guide, for example, recommends oil-based saddle soap for its cowhide, goatskin and pigskin gloves, and periodic washing for its DuraHide and CG Series leather work gloves. Those are care instructions for those products, not a general permission to wash or oil every TIG, MIG or stick welding glove.
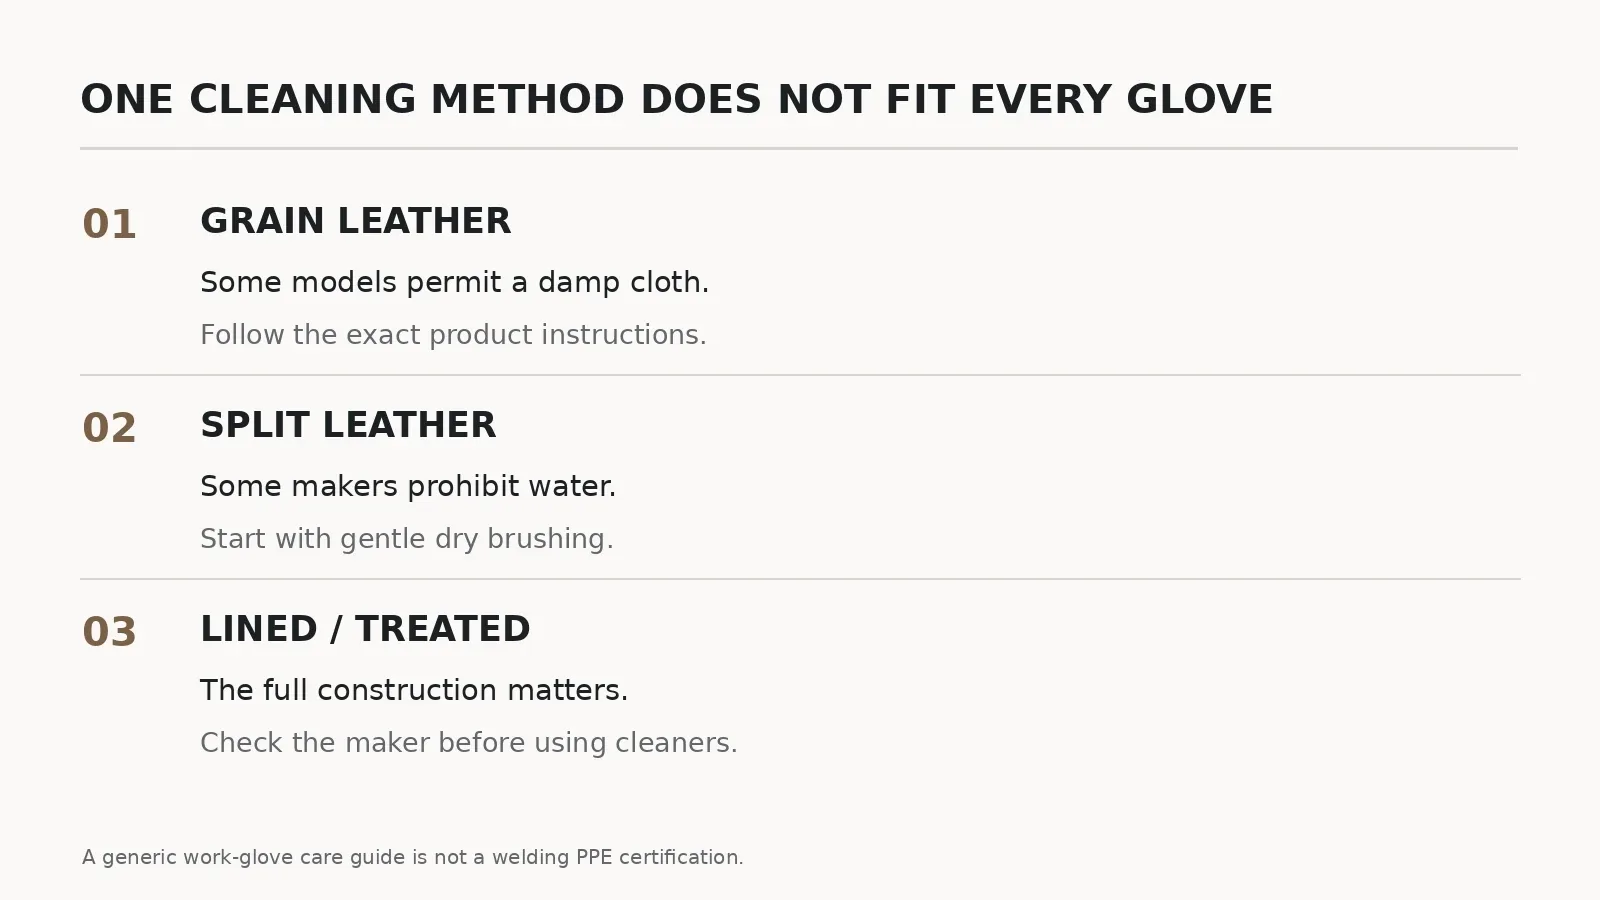
And Wells Lamont's glove care guide makes a distinction that a generic "use a damp cloth" article often misses: it tells readers to wipe some leather gloves with a damp cloth, but to brush split-leather palms and use no water at all.
The Glove's Leather Changes the Answer
Picture two pairs on the same bench. One is a thin, supple TIG glove with a smooth leather palm. The other is a heavy gauntlet with a fuzzy split-cowhide exterior, darkened by weeks of spatter.
They are both called welding gloves. That does not make their cleaning instructions interchangeable.
The Glove's Leather Changes the Answer
| What you're holding | Why it matters | Cautious starting point |
|---|---|---|
| Smooth grain-leather palm | Some manufacturers permit careful damp wiping | Check the label or model guide; start dry, then use minimal moisture only if approved |
| Split leather or suede-like surface | Some care guidance explicitly forbids water | Dry-brush lightly; avoid soaking or assuming damp wiping is acceptable |
| Thin TIG glove, often goatskin or similar | Dexterity and fit matter; a stiff finger can interfere with control | Handle gently, inspect the fingertips and seams, follow the exact model's instructions |
| Heavy MIG or stick gauntlet | Thicker panels and insulation may hide damage beneath a dirty exterior | Brush loose surface debris, then inspect seams, palm, cuff, lining and areas exposed to spatter |
| Mixed-material or treated glove | Lining, coatings and treatments may have separate care restrictions | Follow the glove manufacturer's full instructions, not advice for one leather component |
The American Welding Society's guide to choosing welding PPE describes tight-fitting goat, deer or sheepskin gloves for the dexterity TIG needs, and thick, insulated leather gloves for MIG and stick. It does not declare one cleaning method safe for all of them.
If the label is missing, do not treat the absence of instructions as permission to improvise. Look up the exact model number or ask its manufacturer. Until then, dry surface cleaning is the conservative choice for loose dust.
The Cleaning Routine That Starts Without Water
Here is the part that can happen at the end of a normal workday, without turning the sink into a glove-washing station.
- Let the gloves cool and take them off. Look closely before you try to improve their appearance. Check the palm, fingertips, thumb web, cuffs and stitches. You are looking for holes, scorching, cracking, loose threads, heavy contamination, or a lining that no longer sits correctly.
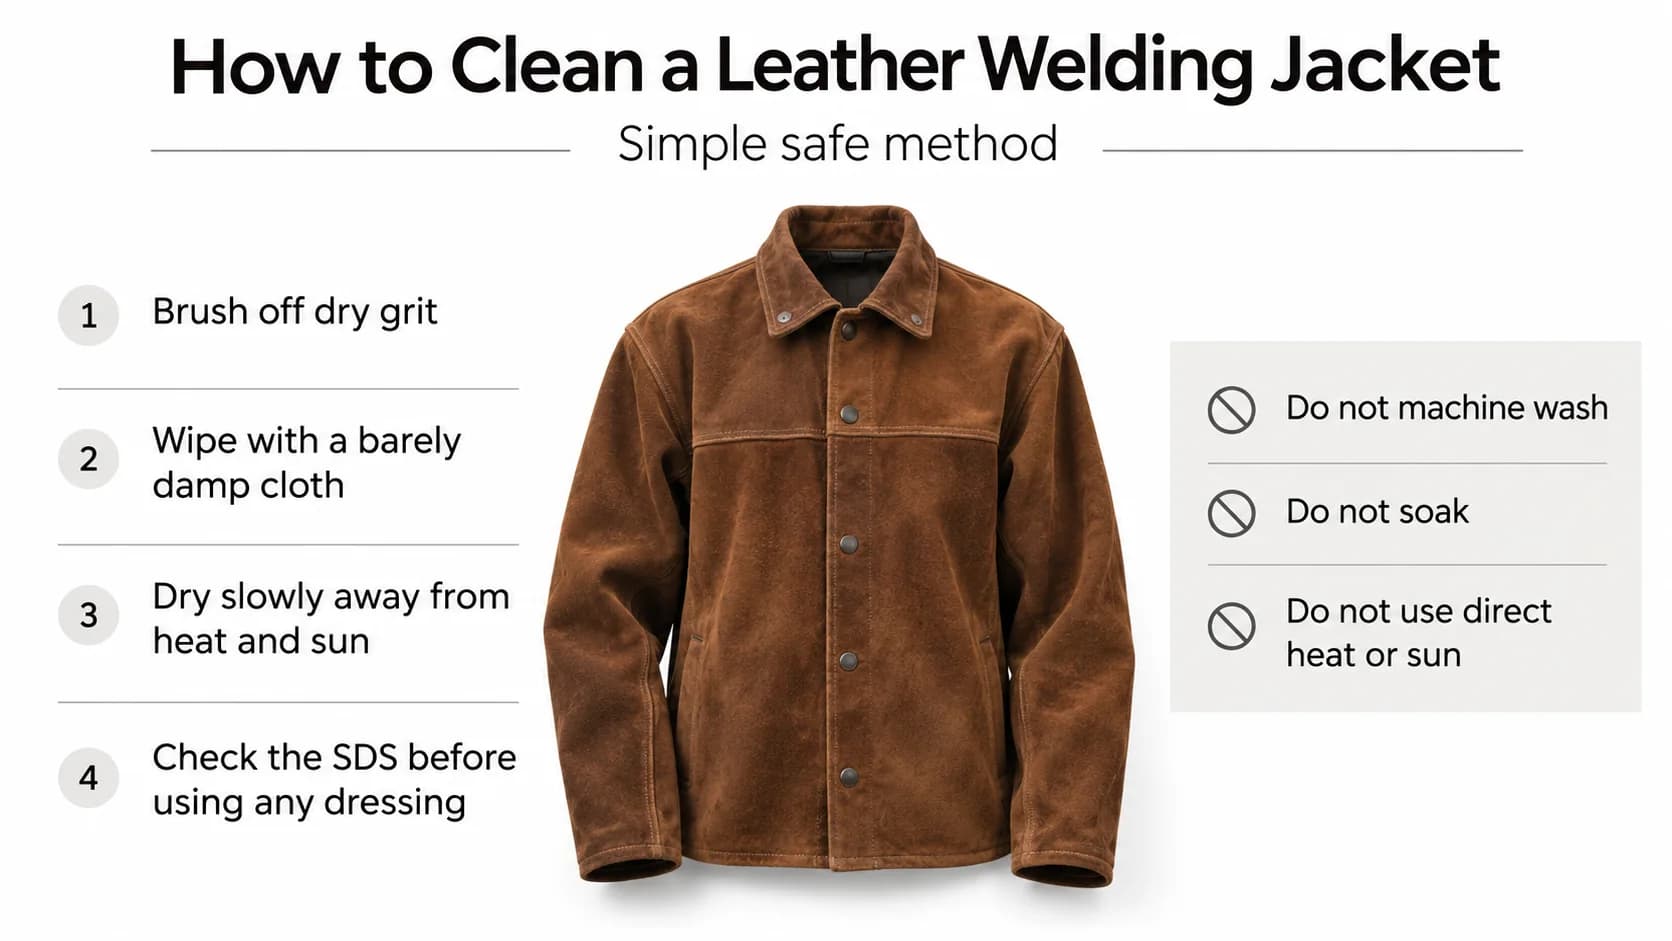
- Try a soft dry brush. Gentle strokes can shift loose dust and surface debris. Never dig a sharp tool into spatter, scrape away charred leather, or pull at damaged stitching. A stubborn mark is not worth weakening the glove.
- Decide whether moisture is permitted. If the maker allows damp spot-cleaning for that exact glove, use a clean cloth wrung out until it is only lightly damp. Work on a small area, without saturating the leather or lining. If the maker advises no water, as Wells Lamont does for split-leather palms, skip this step entirely.
- Only consider a cleaner the maker recommends. Mechanix recommends saddle soap for some of its leather gloves; Superior Glove says leather gloves should ideally be dry cleaned. These are different directions for different products. Neither means that household dish soap or leather oil is safe for an unverified welding glove.
- Let any cleaned glove air-dry naturally. Keep it away from radiators, heat guns, tumble dryers, hot welding tables and strong direct sun. Don't put it back to work until it is thoroughly dry and passes inspection.
Wet Gloves Are Not Just Uncomfortable
Suppose you have cleaned the surface successfully. The leather looks better. But the fingers are still damp inside, and you have another joint to weld.
That is where cleaning advice must stop and electrical safety takes over.
This does not turn welding gloves into rated electrical-insulating gloves. It is a minimum precaution for welding work.
The practical answer is simple: switch to a dry pair rather than trying to speed-dry the wet pair beside a heater. Let the damp gloves dry fully, then inspect them again before use.
A second pair can be more useful than another bottle of cleaner.
Why the Dryer, Radiator and Sunny Windshield Are Poor Shortcuts
A wet leather glove invites impatience. You might lay it near a radiator, on a warm welding bench, or behind a truck windshield in the sun.
Leather-glove makers warn against those shortcuts. Dents says to leave leather gloves to dry naturally at room temperature, and warns that a radiator, heater, tumble dryer or direct sunlight may harden the leather and cause cracks and shrinkage. Mechanix Wear also advises air-drying its leather gloves and not machine drying them with heat.
For welding gloves, there is another reason to avoid shortcuts: you need to know that the glove remains fit for protective use. A finger that has shrunk, a palm that has stiffened, or a seam that has opened is not repaired by becoming dry.
Put the gloves somewhere clean and ventilated. Let time do the drying. If they are no longer supple enough to grip and release tools safely, assess them for replacement rather than forcing the fit. The same slow, room-temperature drying applies to the rest of your leather kit; our guide to washing welding clothes covers jackets, aprons and sleeves.
Those Stiff Fingertips: Dirt or Heat Damage?
This is the question that can fool even a careful person.
A dirty fingertip may feel rough because dust is on the surface. After gentle dry cleaning it may feel much the same as before. But a fingertip that has been exposed to too much heat can become rigid, brittle, cracked or misshapen.
It is tempting to search for a quick way to soften welding gloves: oil, leather conditioner, warm water, or repeated bending.
Do not confuse making leather feel softer with restoring its protective performance. A conditioner may change how leather feels without proving that heat-damaged fibres, seams or protective layers are sound again. Tillman's specification for its 1340 MIG glove tells users to remove gloves from service if there is any evidence of damage or excessive wear.
Ask yourself: did this finger become stiff after sitting dirty, or after repeated heat exposure? Is it cracked? Does the glove still close comfortably around the tool? Are any seams opening?
Where heat damage, cracks, burn-through or loss of safe movement is evident, take the glove out of service. If the problem is merely dirt, start with the permitted surface-cleaning method. Neither route calls for a homemade restoration recipe.
What About Sweat, Smell and the Inside of the Glove?
Gloves can look almost clean outside and smell terrible inside, especially after a long hot shift.
Sweat is also a moisture problem. Take wet gloves out of use and let them dry completely. Keep the pair spread or supported so air can reach them, without forcing the lining inside out if its construction doesn't allow that.
Do not assume vinegar, alcohol spray, bleach, perfume, baking soda or a home disinfectant is compatible with the leather, lining, stitching or protective finish. If the manufacturer publishes an approved cleaning method for the lining, follow it. If not, airing and drying are safer starting points than chemical experimentation, but they do not amount to verified disinfection.
Persistent odor, a saturated lining or a damaged interior may justify replacement. A glove that smells fresh is not necessarily a glove that has been safely cleaned.
Clean, Ask, or Replace? Decide Before the Next Arc
You don't need a perfect-looking pair of gloves. You need a pair that can do its protective job.
Clean, Ask, or Replace? Decide Before the Next Arc
| What you find | Practical decision | Why |
|---|---|---|
| Loose, dry dust; intact leather and seams | Clean gently with a dry brush or cloth | Surface dirt may be removable without adding moisture |
| Light surface mark on a glove whose care label permits wiping | Spot-clean as instructed, then dry and inspect | Cleaning permission is model- and material-specific |
| Rain or sweat has left the glove damp | Stop using it until dry; use a dry pair | ANSI Z49.1 requires dry gloves |
| Oil, grease, fuel or solvent has soaked into the leather | Remove from service; ask the maker or your safety lead, or replace | A cleaner-looking surface does not prove combustible contamination is gone |
| Burn holes, cracked or heat-hardened fingers, open stitching, damaged lining | Replace, or follow the manufacturer's formal assessment | Cosmetic cleaning cannot restore protection |
That is the honest end to the workshop story. Sometimes the old toothbrush is all you need. Sometimes the better tool is a new pair of gloves.
Frequently Asked Questions
Can you put leather welding gloves in a washing machine?
Do not assume you can. Several leather-glove makers advise against washing leather gloves at all, while a few washable leather work gloves have product-specific instructions. Use the instructions for the exact welding glove, and never infer permission from a different model.
Can you wash welding gloves with dish soap?
Only if the exact glove's maker authorizes that soap and method. Mechanix mentions dishwashing soap for its synthetic-leather and cotton gloves, not as blanket permission for leather welding gloves. For unknown leather welding gloves, begin with dry brushing.
Can you clean welding gloves with a wet cloth?
Some smooth leather gloves permit a slightly damp cloth. Other instructions, including Wells Lamont's for split-leather palms, say no water. Check the material and model first, and never soak the glove.
Can welding gloves get wet?
They can get wet, but you should not weld in damp gloves. ANSI Z49.1:2021 requires gloves to be dry and in good repair, and warns that damp or wet gloves may lead to electric shock. Let them dry naturally and inspect them before reuse.
Can a dryer shrink welding gloves?
Heat-drying can shrink, stiffen or crack leather gloves. Dents advises against tumble dryers, radiators and heaters for leather gloves. Dry them naturally at room temperature instead.
Does leather conditioner make hardened welding gloves safe again?
Nothing shows that it restores damaged welding gloves. If the leather is cracked, scorched, brittle or has lost safe fit and movement, replace the gloves. A softer feel is not proof of restored protection.
How do you remove grease from welding gloves?
Blot a fresh surface smear without driving it deeper, but do not put oil-soaked gloves back into service just because the stain fades. OSHA's hot-work guidance calls for gloves free of flammable or combustible materials. Ask the manufacturer or your safety lead about an approved process, and replace the gloves when removal cannot be verified.
How long do welding gloves last?
There is no universal number of shifts or washes. Heat exposure, the welding process, hours of use, stitching, contamination and construction all matter. Inspect before each use and replace on condition, not on a fixed schedule.
One Last Look at the Pair on Your Bench
The glove in our opening scene still has that dark palm. If it was only dry dust, you may be able to brush it away and get on with your day. If the leather drank up machine oil, the stain is telling you something more serious than "time to wash."
You can take good care of gear without trying to rescue every worn-out piece of it.
Clean what the manufacturer says can be cleaned. Dry what needs drying. And when protection is in doubt, don't let a tidy-looking glove make the decision for you.
Sources and Further Reading
This article separates what manufacturers and safety standards say from our own cautious judgement. WelderHub has not lab-tested these cleaning methods, and the gloves pictured are illustrations. Sources checked 20 November 2026.
- American Welding Society: ANSI Z49.1:2021 (PDF), clauses 4.3.2 and 11.4.9.3 and explanatory notes E4.3.1 and E11.4.9.3.
- OSHA: Hot-work PPE selection for shipyards, for leather gloves free of flammable or combustible materials.
- Wells Lamont: Glove Care Guide, for its distinction between full leather, grain leather and split leather.
- Mechanix Wear: Product Care Guide, for material-specific washing, soap and drying advice.
- Dents: How to Care for Leather Gloves, for drying and no-machine-wash advice.
- Superior Glove: Cleaning Instructions, for care methods by glove material.
- American Welding Society: Choosing the Right PPE for Welding Safety, for TIG versus MIG and stick glove selection.
- Tillman: 1340 Goatskin MIG Glove Specification (PDF), for removing gloves from service when damaged or excessively worn.